Overview #
In addition to importing dossiers from pre-configured repositories, DnXT Reviewer allows you to upload eCTD submissions directly from your local machine using two methods: Upload ZIP and Upload Folder. These upload methods are ideal when you receive submission packages via email, file transfer, or other channels that do not involve a shared repository. This guide covers both upload workflows, the auto-import feature, and how to monitor upload and import progress.
Upload ZIP #
The Upload ZIP feature allows you to upload a compressed archive containing one or more eCTD submission sequences. The ZIP file is uploaded to the server, extracted, and optionally auto-imported into Reviewer.
Step-by-Step: Uploading a ZIP File #
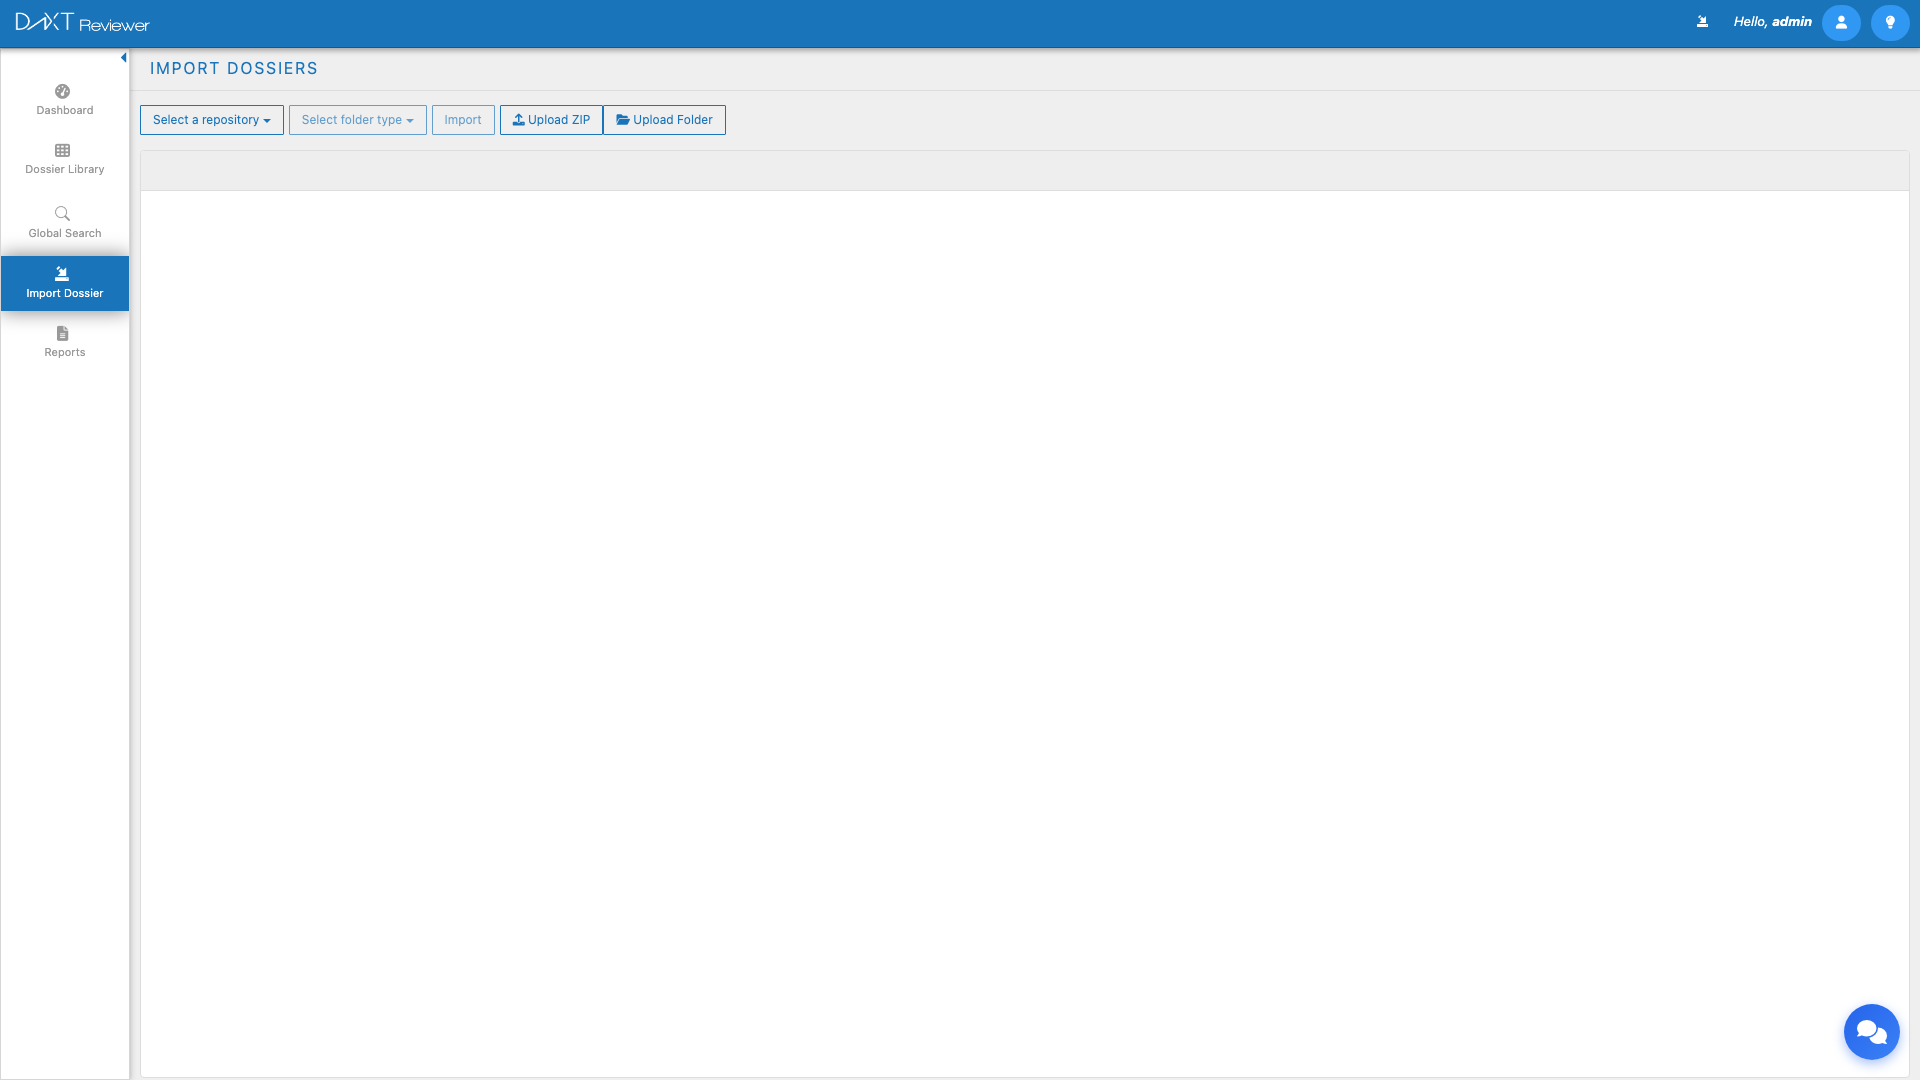
- Navigate to Left Sidebar → Import Dossier.
- Select a Repository from the dropdown. The uploaded ZIP will be extracted into this repository’s storage location.
- Select the Folder Type (eCTD or Folders).
- Click the Upload ZIP button in the toolbar.
- A file picker dialog opens. Navigate to the ZIP file on your local machine and select it.
- The Auto-Import Confirmation Modal appears (see below).
- Choose your preferred option and the upload begins.
Supported ZIP Formats #
| Format | Extension | Notes |
|---|---|---|
| Standard ZIP | .zip | Most common; recommended format |
| ZIP64 | .zip | Supported for archives larger than 4 GB |
0000/, 0001/ (sequence numbers) with their respective regional XML files.
Upload Folder #
The Upload Folder feature allows you to upload an entire folder from your local machine directly into Reviewer. This is powered by client-side JSZip technology, which compresses the folder contents in your browser before uploading to the server.
Step-by-Step: Uploading a Folder #
- Navigate to Left Sidebar → Import Dossier.
- Select a Repository and Folder Type.
- Click the Upload Folder button in the toolbar.
- A folder picker dialog opens. Select the folder on your local machine that contains the eCTD submission(s).
- The browser begins compressing the folder contents using JSZip (you may see a brief processing indicator).
- The Auto-Import Confirmation Modal appears.
- Choose your preferred option and the upload begins.
Auto-Import Confirmation Modal #
After selecting a file or folder for upload, the Auto-Import Confirmation Modal appears with three options:
| Option | Behavior | When to Use |
|---|---|---|
| Cancel | Aborts the upload entirely. No files are transferred. | When you selected the wrong file or changed your mind |
| Upload Only | Uploads the file to the repository storage but does NOT import it into Reviewer. The dossier is placed in the repository for later manual import. | When you want to stage files in the repository for later review, or when you need to verify the upload before importing |
| Yes, Auto Import | Uploads the file AND automatically imports it into Reviewer once the upload completes. This is the most common choice. | When you want the dossier available for review as quickly as possible |
Upload Progress Monitoring #
After confirming the upload, an Upload Progress Modal appears showing detailed transfer status. This modal provides granular control over the upload process.
Progress Display #
The progress modal shows:
- File name being uploaded
- Progress bar showing percentage complete
- Transfer speed (bytes/second)
- Estimated time remaining
- Bytes transferred out of total size
Chunked Upload #
Large files are uploaded using a chunked upload mechanism, which splits the file into smaller pieces and sends them sequentially. This approach provides several benefits:
- Resilience — If a chunk fails, only that chunk needs to be retried, not the entire file
- Large file support — Files larger than typical HTTP upload limits can be transferred successfully
- Progress tracking — Each chunk completion updates the progress bar, providing accurate progress indication
Upload Controls #
The Upload Progress Modal provides three control buttons:
| Control | Action |
|---|---|
| Pause | Temporarily halts the upload. The current chunk completes, but no new chunks are sent. Click Resume to continue. |
| Resume | Continues a paused upload from where it left off. Displayed only when the upload is paused. |
| Cancel | Aborts the upload entirely. Partially uploaded chunks are cleaned up from the server. |
Import Progress After Upload #
If you selected Yes, Auto Import, the import begins automatically once the upload completes. The Upload Progress Modal transitions to an Import Progress Modal showing:
- Per-dossier progress bars
- XML parsing status
- Document registration counts
- Completion status for each submission sequence
If you selected Upload Only, the upload completes and you are returned to the folder browser. You can then browse to the uploaded folder and click Import to import it manually at your convenience.
Best Practices for Uploads #
Preparing ZIP Files #
- Include the full eCTD structure — Ensure the ZIP contains the complete submission folder hierarchy starting from the sequence number folder (e.g.,
0000/). - Verify XML backbone files — The regional XML files (e.g.,
us-regional.xml) must be present for eCTD imports to succeed. - Avoid nested ZIPs — Do not place ZIP files inside other ZIP files. Reviewer only extracts one level.
- Keep file paths short — Very long file paths within the ZIP may cause extraction issues on some operating systems.
Preparing Folders #
- Close open files — Ensure no files in the folder are open in other applications before uploading.
- Check folder size — Very large folders (over 10 GB) may take significant time to compress in the browser. Consider using Upload ZIP for very large submissions.
- Use a stable connection — Folder uploads compress in the browser first, then upload. A stable internet connection is important for the upload phase.
Troubleshooting Upload Issues #
| Issue | Possible Cause | Resolution |
|---|---|---|
| Upload fails immediately | No repository selected | Select a repository from the dropdown before clicking Upload |
| Browser freezes during folder upload | Folder is very large and JSZip compression is consuming memory | Use Upload ZIP instead; manually compress the folder outside the browser first |
| Upload completes but auto-import fails | ZIP contents do not match selected folder type | Verify the ZIP contains valid eCTD structure; try importing manually with the correct folder type |
| Progress bar stalls at a percentage | Network interruption between chunks | Wait a moment for automatic retry; if it does not resume, cancel and retry the upload |
| File picker does not open | Browser pop-up blocker or permissions issue | Allow pop-ups for the DnXT domain in your browser settings |
Frequently Asked Questions #
What is the maximum file size for ZIP uploads? #
There is no hard file size limit enforced by Reviewer. The chunked upload mechanism supports very large files. However, practical limits depend on your server configuration and available storage. Consult your DnXT Administrator for any organization-specific limits.
Can I upload multiple ZIP files at once? #
The file picker allows you to select one ZIP file per upload operation. To upload multiple ZIPs, complete the first upload and then initiate a new upload for the next file.
What is the difference between Upload Only and Auto Import? #
Upload Only transfers the files to the repository storage but does not parse or register them in Reviewer’s database. The files will appear in the repository folder browser for future manual import. Auto Import both uploads the files and immediately parses and registers them, making them available in the Dossier Library.
Can I resume a cancelled upload? #
No. A cancelled upload cleans up any partially transferred data. You will need to start the upload from the beginning. Use the Pause button instead of Cancel if you want to temporarily stop without losing progress.
Does Upload Folder work with any browser? #
Upload Folder uses the browser’s folder selection API and JSZip for client-side compression. It is supported in Google Chrome, Microsoft Edge (Chromium-based), and Firefox. Older browsers that do not support the folder selection API may not display the Upload Folder option.
Related Articles #
- Importing Dossiers — Repository-based import workflow
- Repository Management — Configuring repositories for uploads
- Dossier Library — Viewing imported dossiers after upload
- Reviewing Submissions with TOC — Reviewing uploaded content